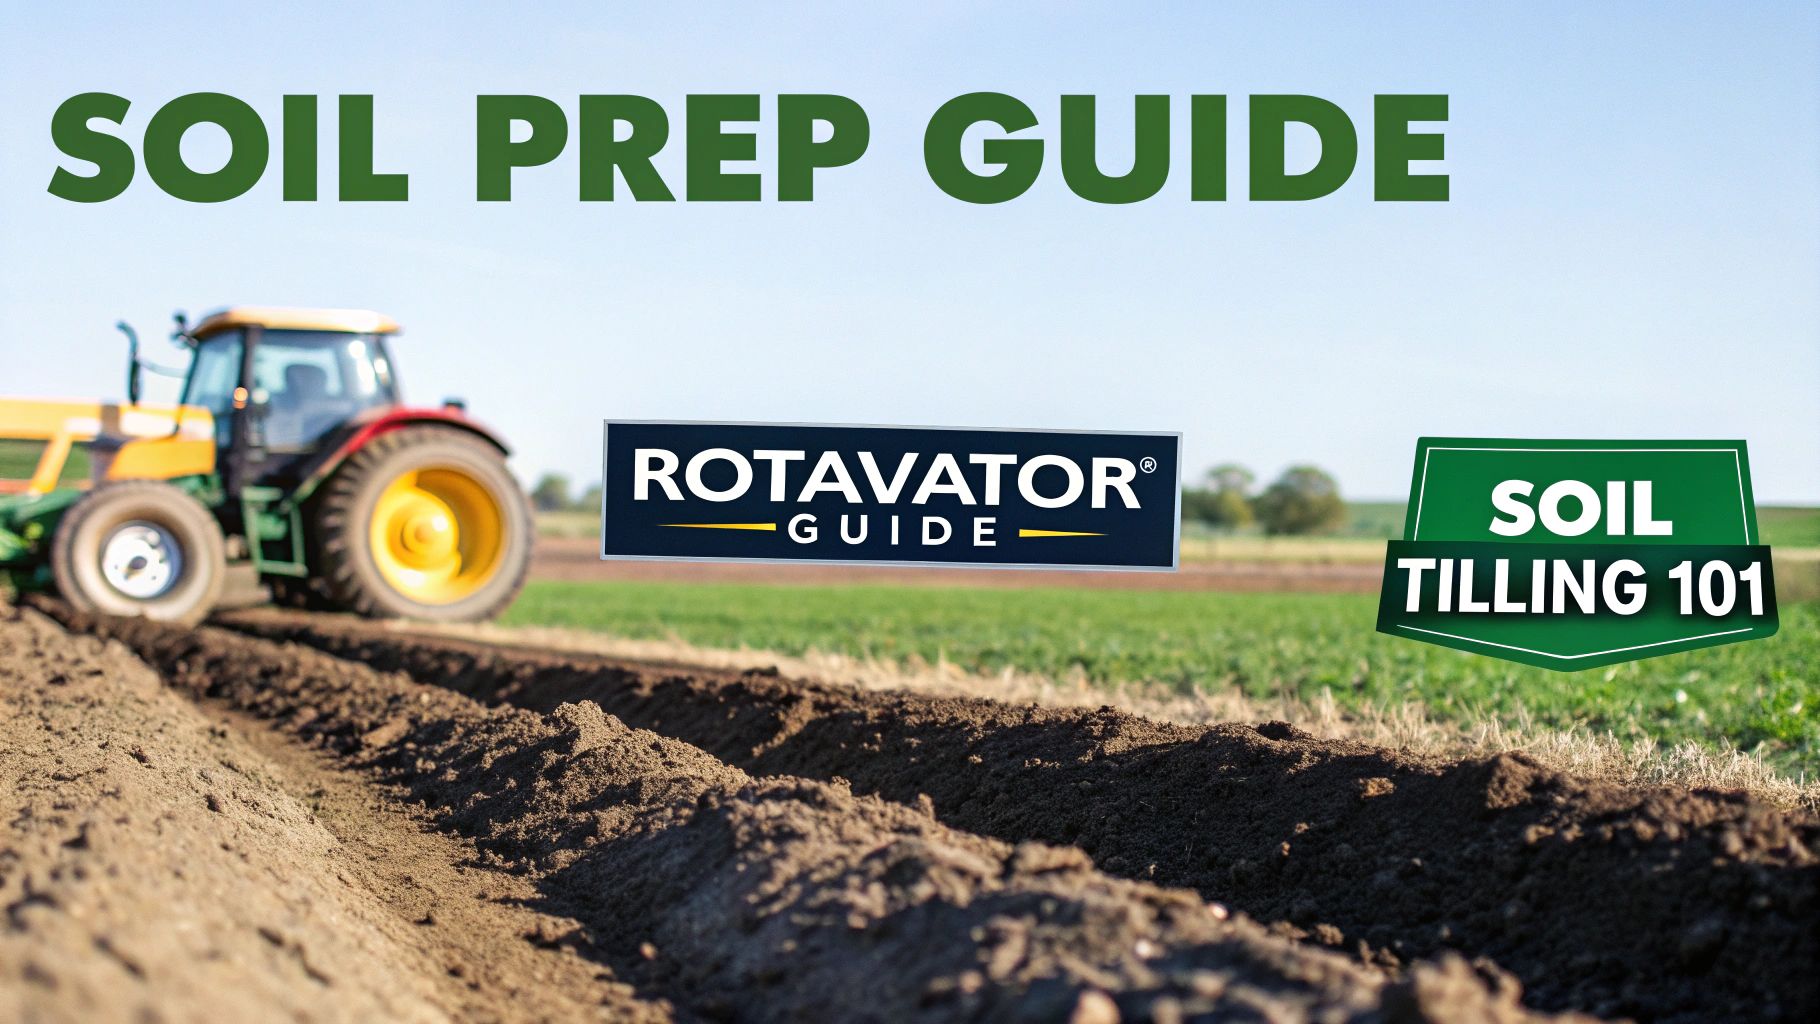
A rotavator is a real workhorse on the farm, designed to take rough ground and turn it into a plant-ready seedbed in just one go. Think of it as a powerful, tractor-driven tiller. Its rotating blades dig deep to break up compacted earth, churning and mixing the soil to create a fine, level finish.
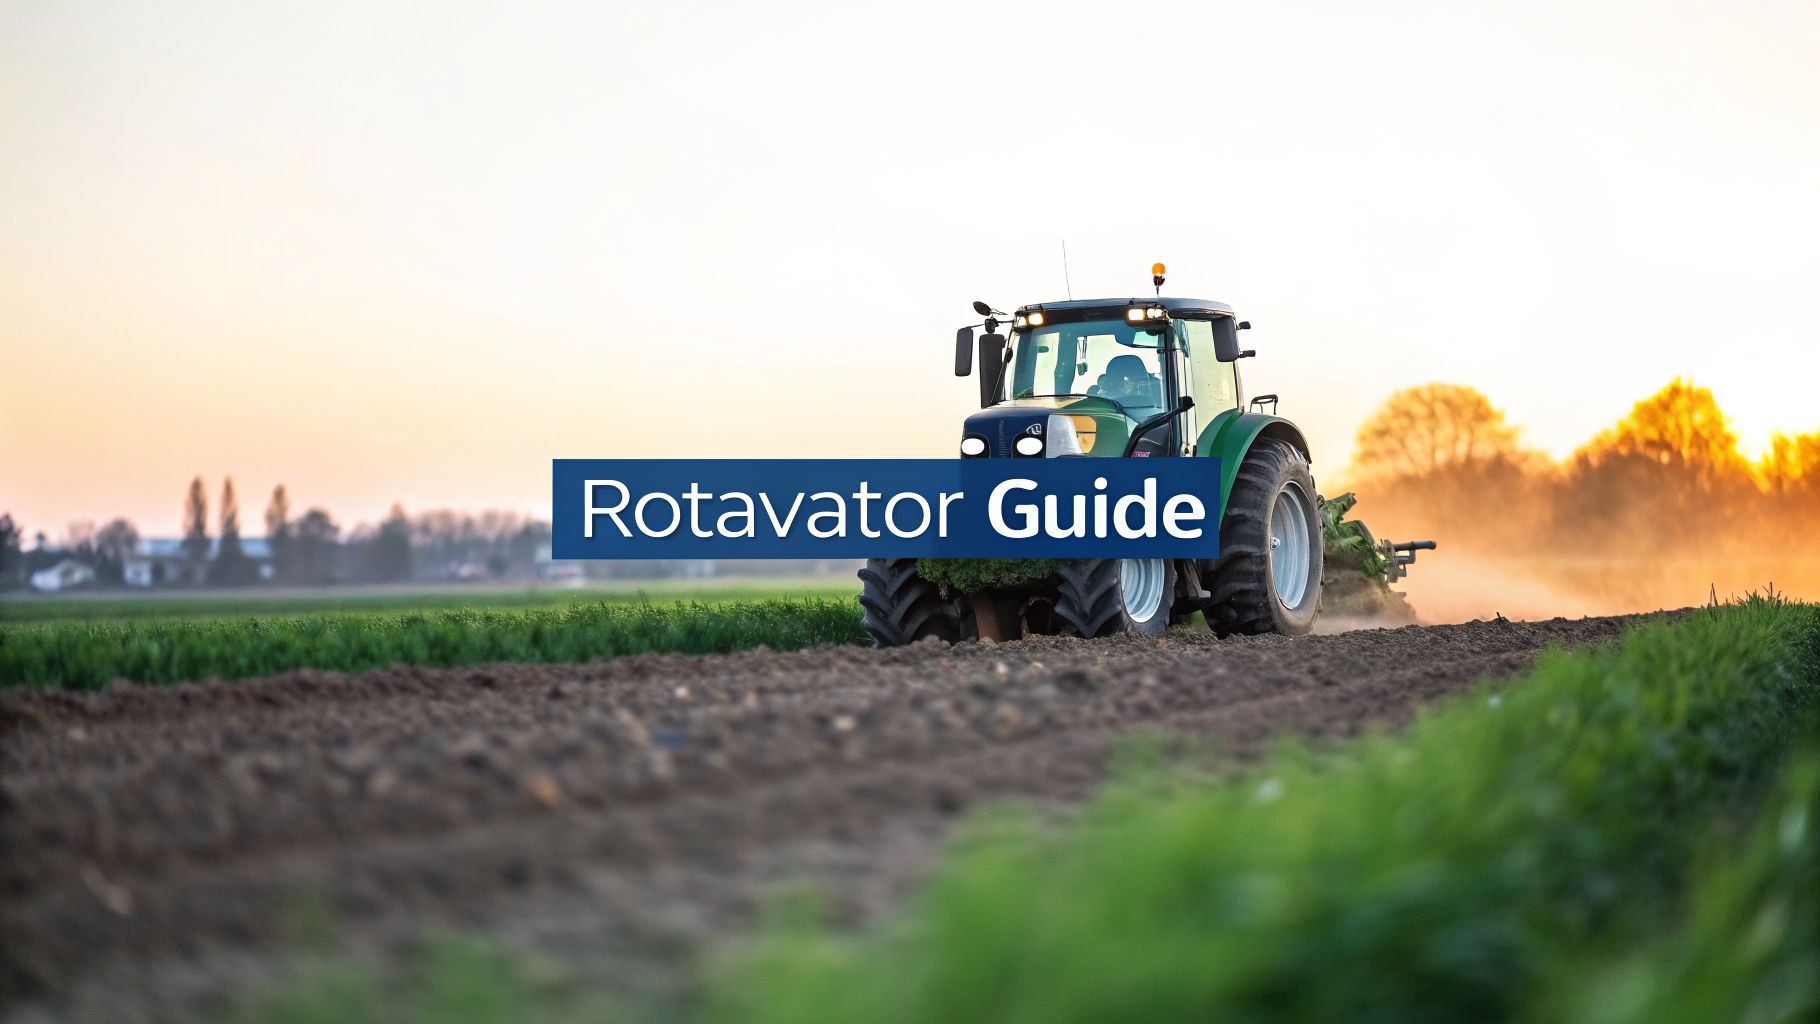
Getting to Grips with the Rotavator
At its core, a rotavator completely changes the first, and arguably most important, step in cultivation. A plough, for example, just turns the soil over. A rotavator, on the other hand, gets right in there and actively mixes everything up. It hooks up to the tractor’s power take-off (PTO) shaft, which channels the engine’s power into the implement’s own gearbox.
This gearbox drives a rotor armed with specially shaped blades, or tines. As that rotor spins, the tines bite into the soil, shattering clods, letting air in, and mixing in whatever is on the surface, whether that’s old stubble or a fresh layer of manure. This aggressive action transforms a tough, unworked patch of land into the fine tilth that seeds love.
The Mechanics of It
It’s a brilliant bit of engineering. The tractor moves it forward and provides the power, but the rotavator itself does all the hard work of tilling the soil. The result is a beautifully consistent finish that would normally take several passes with different bits of kit, like a disc harrow followed by a cultivator.
This single-pass efficiency is precisely why rotavators are so popular for tackling several jobs at once. The global market reflects their value, having grown from £1.65 billion to £1.71 billion in just one year. On UK farms, where precision is key, they are indispensable for creating the uniform seedbeds needed for modern planting techniques.
A rotavator is all about doing the job of several implements in a single pass. It breaks up, mixes, and levels the soil, saving you precious time, fuel, and labour when the planting window is tight.
What It’s Really Used For
The machine’s design makes it incredibly versatile for all sorts of UK farming, from small market gardens in Lincolnshire to vast arable fields up in the Scottish Borders. Its main functions are all about promoting productive and sustainable farming.
- Primary Cultivation: Got a field of old pasture or fallow ground to bring back into use? A rotavator will break it up and get it ready for a new crop.
- Secondary Tillage: It’s perfect for refining ploughed land, breaking it down into a fine and firm seedbed ideal for delicate seeds like carrots or onions.
- Weed Control: The churning action is great for ripping up annual weeds and burying them, which can help cut down on herbicide use.
- Incorporating Organic Matter: It’s brilliant at chopping up and mixing in cover crops, manure, or leftover crop residues, which is fantastic for building soil fertility and structure.
To get the best out of a rotavator, you need a decent handle on your soil’s condition. This includes understanding soil compaction and how it affects crop growth. A bit of knowledge here goes a long way in ensuring you’re helping your soil, not harming it.
What’s a Rotavator Actually Used For on a UK Farm?
So, beyond the nuts and bolts of how it works, where does a rotavator really earn its keep on a British farm? It’s a proper multi-tool, often sorting several jobs in one clean pass. When you see what it can do in the field, you start to appreciate its place in the yearly cycle of groundwork.
At its core, the machine has three main jobs: knocking up a perfect seedbed, tackling weeds without reaching for the sprayer, and blending organic matter back into the soil to boost fertility. Each one is a crucial step towards a healthy, profitable crop.
Creating the Perfect Seedbed
Probably the most common sight is a rotavator doing primary and secondary tillage, creating that fine, crumbly seedbed everyone’s after. If you’re growing high-value root crops – think potatoes, carrots, or parsnips – you can’t afford a lumpy, inconsistent soil structure. It’s the difference between a good yield and a poor one.
This is where a rotavator shines. It smashes up clods and levels the ground, leaving that classic “fluffy” tilth. This ensures fantastic seed-to-soil contact, which is exactly what you need for quick, even germination. A plough just turns the soil over, but a rotavator actively churns and refines it, getting a field ready for the drill much faster than making multiple passes with other bits of kit.
Mechanical Weed Control
With ever-increasing pressure to cut back on herbicides, the rotavator’s role in weed management is more vital than ever. It’s a powerful, chemical-free way to get on top of annual weeds.
The spinning tines are brilliant at ripping out and burying young weeds, stopping them in their tracks before they get a chance to rob the main crop of light, water, and nutrients. It’s an essential technique for organic farms, but also for any farmer looking to adopt more sustainable, integrated practices.
A word of caution, though. While it’s fantastic for annuals, rotavating can make a nightmare of deep-rooted perennial weeds like couch grass or docks. It just chops their roots into little pieces, and every piece can sprout into a new plant.
Incorporating Organic Matter
Finally, a rotavator is a first-class tool for improving your soil. It does a fantastic job of chopping and mixing organic matter straight into the topsoil, which is the bedrock of long-term soil health and fertility. This has a few major benefits for UK farmland:
- Cover Crops: It quickly munches through green manures, terminating them and mixing them in to release all their locked-up nutrients for the next crop.
- Crop Residues: After harvest, it’s great for dealing with stubble from crops like oilseed rape or cereals. It breaks the trash down and gets it into the soil to kickstart decomposition. For particularly tough stubble, you might want to look at a specialised stubble chopper to work alongside it.
- Manure and Compost: It evenly spreads and incorporates farmyard manure or compost, getting rid of nutrient hotspots and improving the soil structure across the whole field.
By getting all this goodness mixed in, the rotavator doesn’t just clear the way for the next crop. It actively builds a more resilient, fertile, and productive foundation for the seasons ahead.
Rotavator vs Plough vs Power Harrow: Picking the Right Tillage Tool
Choosing your primary tillage kit is one of those big decisions that sets the tone for the entire growing season. On most UK farms, the debate usually comes down to three main contenders: the rotavator, the classic plough, and the more refined power harrow. Each has its own way of working the ground, and figuring out what a rotavator does differently is the first step to making a smart choice for your land.
What’s the Difference in How They Work?
At its core, a rotavator is the aggressive all-rounder. Its PTO-driven blades don’t just scratch the surface; they actively churn, mix, and pulverise the soil. This means you can often go from pasture or stubble to a workable seedbed in a single pass, which is a massive time-saver. However, that intensity can be a double-edged sword, sometimes being too harsh on delicate soil structures if you’re not careful.
The traditional plough works on a completely different principle: inversion. It slices a furrow and flips it over, burying surface trash, weeds, and old crop residue deep into the soil profile. This is fantastic for hitting the reset button on a field and getting air into the soil, but it leaves a rough, lumpy finish that always needs a secondary pass to knock it into a seedbed.
The power harrow, then, is the finisher. It also runs off the PTO, but its vertical tines have a less violent, stirring action. Think of it as a soil whisk rather than a blender. It’s perfect for creating a fine, level, and firm seedbed on land that has already been ploughed or cultivated, but it’s not designed for breaking new ground.
As this shows, the rotavator’s strength lies in its ability to handle seedbed preparation, weed control, and organic matter incorporation all at once.
Comparing Tillage Implements for UK Farms
To help make sense of it all, here’s a quick breakdown of how these three implements stack up against each other in real-world farming scenarios.
| Implement | Primary Function | Tilth Quality | Soil Impact | Best Suited For |
|---|---|---|---|---|
| Rotavator | One-pass primary & secondary cultivation | Very fine, fluffy tilth | High risk of creating a pan & destroying structure if overused | Horticulture, vegetable beds, pasture renovation, smallholdings |
| Plough | Primary cultivation (inversion) | Rough, cloddy finish requiring secondary tillage | Good for aeration & burying residue, but can create a plough pan | Arable rotations, breaking new ground, controlling tough weeds |
| Power Harrow | Secondary cultivation (seedbed finishing) | Fine, firm & level seedbed | Generally low impact on soil structure when used correctly | Finishing seedbeds for cereals, oilseeds, and precision-sown crops |
Ultimately, there’s no single “best” tool. Each has a specific job it excels at, and the right one depends entirely on your soil, your crops, and your goals.
Making the Right Choice for Your Farm
It’s crucial to think about your farm’s specific context. What works for a light, sandy loam in Norfolk won’t be the best approach for heavy clay in Herefordshire.
Soil health is a major factor. The aggressive action of a rotavator, especially when the ground is a bit too damp, can smear the soil and create a hard, compacted layer (a ‘pan’) just below the tines. This can seriously mess with drainage and stop plant roots in their tracks. While a plough can also cause a pan, its deep-working nature is often used specifically to break up existing compaction.
Then there are the practicalities. Both rotavators and power harrows are thirsty for power, demanding a tractor with a healthy PTO horsepower rating. Ploughs, on the other hand, are more about grip and pulling power. Speed is another consideration – rotavating is a slow and steady job to let the blades do their work, whereas ploughing can often be done at a much faster pace.
The best choice depends entirely on your specific context. A rotavator offers speed and efficiency for horticulture, while a plough provides a ‘reset’ for arable rotations, and a power harrow delivers a premium finish.
If you’re growing vegetables on lighter soils, the one-pass capability of a rotavator could be a game-changer. For a conventional arable system on heavy ground, a plough followed by a power harrow is often the only way to get the job done properly. For those in specialist horticulture, machinery like the bed formers from our partners at Spapperi can take seedbed preparation to the next level.
By understanding how each of these tools works and where its strengths lie, you can build a tillage system that not only gets the job done but also looks after your most valuable asset: your soil.
Getting the Best from Your Rotavator in UK Conditions
Just hooking up a rotavator and driving off is half the job. To really get the most out of it, you need to think like an old hand and fine-tune its settings to match your ground and what you’re trying to achieve. The line between a perfect tilth and a compacted pan often comes down to a few small, but critical, adjustments.
Whether you’re wrestling with the heavy clays in the Midlands or cultivating the sandy loams of East Anglia, matching the machine’s setup to the field in front of you is non-negotiable. It’s this hands-on approach that gets you the seedbed you want without inadvertently damaging your soil structure for years to come.
Nailing Your Working Depth
How deep you set the tines to work completely changes the outcome of the pass. It’s never a ‘set and forget’ dial; it needs to be adjusted for every specific task.
- Shallow Passes (5-10 cm): This is your go-to for mechanical weeding. A quick, light pass at this depth is just right for taking out annual weeds without bringing up a fresh bank of dormant seeds from deeper down.
- Medium Depth (10-15 cm): When you’re looking to mix in a cover crop or muck, this is the sweet spot. It gets the organic matter blended nicely into the topsoil where it can start breaking down and feeding the soil.
- Deep Cultivation (15-20 cm): Reserve this for breaking new ground or preparing a deep, loose seedbed for root crops like potatoes and carrots.
A word of warning on deep rotavating: be very careful, particularly on damp ground. Going too deep, too aggressively can create a smeared, impermeable layer at the base of your cultivation, known as a pan. This will stop water draining and block root growth.
The Art of Balancing Speed
The real skill in operating a rotavator lies in finding the perfect harmony between your forward speed and the speed of the spinning tines (PTO speed). This relationship is what determines the final texture, or tilth, of your soil.
If you crawl along with the PTO running flat out, you’ll pulverise the soil into a fine powder. While it might look lovely at first, this can easily lead to capping after rain, preventing seedlings from emerging. On the other hand, driving too fast with a slow PTO speed will leave you with a lumpy, cloddy mess.
For most seedbed work, a standard PTO speed of 540 rpm combined with a steady, slow forward gear is a brilliant starting point. From there, you can tweak it to get that lovely, crumbly structure that every farmer wants to see.
Using the Rear Flap to Get the Perfect Finish
Don’t underestimate that adjustable flap on the back. It’s a simple but vital tool for controlling the final finish. Its position dictates how long the soil is kept in the rotor housing being worked by the tines.
Lower the flap, and you hold the soil in for longer, breaking it down much finer and leaving a very smooth, level surface behind you. Lift it up, and you allow larger clods to escape, giving you a rougher, more open finish. This simple adjustment is key to creating your ideal surface, and when followed by other tools like those in our guide to crop rollers, you can create truly optimal field conditions.
Essential Maintenance Checks for Farm Safety
A rotavator that’s been looked after is a safe and reliable machine. Skip the routine checks, and you’re not just risking an expensive breakdown when you can least afford it; you’re creating a serious safety hazard. A bit of regular upkeep is the smartest way to protect your investment and make sure it performs properly, season after season.
The trick is to get into a simple, consistent maintenance habit. Treat it like a pre-flight check before you even think about starting the engine. Those few minutes spent looking things over can save you hours of headaches down the line and help you catch small problems before they turn into major failures.
For a wider view on keeping all your gear in top shape, this comprehensive heavy equipment maintenance checklist is a great resource.
Your Pre-Operational Safety Checklist
Before you head out to the field, it pays to run through a quick list to make sure everything is in safe, working order. This isn’t just about prolonging the machine’s life; it’s about preventing accidents.
And the golden rule: always shut down the tractor and completely disengage the PTO before you touch anything. This is the single most important safety step.
- Check Tine Condition: Have a good look at the blades. Are they badly worn, cracked, or bent? Worn-out tines don’t just do a poor job in the soil; they put a hell of a strain on the gearbox.
- Verify Gearbox Oil: Just like your tractor, that gearbox needs clean oil at the right level to keep it from overheating and packing in. A quick glance at the sight glass or dipstick is all it takes.
- Grease All Points: Get the grease gun out and hit every nipple recommended in the manual. Good lubrication is absolutely vital for protecting bearings and pivot points from grinding themselves to dust.
- Inspect Safety Guards: Make sure all the guards are bolted on tight and aren’t damaged. Pay close attention to the PTO shaft cover – a missing or broken guard is a massive risk you don’t want to take.
Sticking to these simple checks is about more than just getting the machine ready for a day’s work. It builds a culture of safety on the farm, preventing accidents and ensuring your equipment stays a productive asset, not a liability. When it comes to safe operation, regular maintenance isn’t optional.
Where Do Rotavators Fit in Modern, Sustainable Farming?
As British agriculture steers through new economic and environmental waters, you might think an old-school tool like the rotavator would be left behind. But that’s not what’s happening. Far from gathering dust in the shed, it’s finding a renewed sense of purpose on farms that are serious about soil health and productivity.
In fact, its role is becoming more important than ever for growers looking to cut back on the chemical bill.
The move away from blanket herbicide use puts the spotlight back on mechanical weed control. For anyone in organics or horticulture, a rotavator is a proven, chemical-free way to knock back annual weeds, which is a big win for sustainable practices. And this is where the real innovation is happening, completely changing what a rotavator can do for a modern farm.
Smarter Designs for Healthier Soils
Manufacturers have been listening. They know farmers need tools that look after the soil, and they’re coming up with new designs that tackle the old criticisms of intensive rotavation head-on.
Here’s where we’re seeing the biggest changes:
- Clever Tine Designs: Engineers are rethinking the business end of the machine. We’re now seeing specially shaped tines that are designed to lift and fracture the soil, not just smash it to bits. This approach reduces the risk of smearing and compaction, helping to keep that vital soil structure intact.
- Precision Inter-Row Weeders: For high-value row crops, a whole new breed of smaller, more accurate inter-row rotavators has appeared. These can get right in between the crop rows to take out weeds, providing a brilliant mechanical alternative to spraying.
The humble rotavator is being reimagined. It’s no longer just a brute-force primary cultivation tool, but a sophisticated implement for targeted, sustainable soil management in a new era of British farming.
This isn’t just talk; the market reflects this revival. The global rotavator market has seen healthy growth, expanding from £2.36 billion to £2.52 billion in just one year, and it’s expected to keep growing. If you’re interested in the numbers, you can explore the full research on rotavator trends to see where the market is headed.
Got Questions? We’ve Got Answers
To finish up, let’s tackle a few of the most common questions we hear from farmers and operators out in the field. Here are some quick, practical answers to scenarios you’ll likely run into.
Can I Use a Rotavator on Wet Soil?
Honestly, it’s a really bad idea. Taking a rotavator to wet, soggy ground is asking for trouble.
The aggressive action on saturated soil will smear and compact the particles, creating a solid, impermeable layer known as a hardpan just beneath the surface. This new layer blocks water drainage and physically stops crop roots from growing downwards. You’re essentially destroying the soil’s natural crumb structure, which is crucial for air and water movement.
The golden rule? Wait until the soil is friable. It should be moist enough to crumble easily in your hand but not so wet that it sticks together like a ball of plasticine when you squeeze it.
How Often Should I Replace the Tines?
There’s no single answer here, as it all comes down to your soil type and how many hours you’re putting in. If you’re working abrasive, sandy, or stony ground—like you’d find in parts of East Anglia—you’ll get through tines much faster than someone on soft, loamy soil.
Make a habit of checking the tines as part of your daily walk-around. Once they start looking visibly rounded, thin, or have lost about a third of their original length, it’s time to change them. Pushing on with worn tines not only gives you a poor finish but also puts a huge amount of strain on the driveline and gearbox.
Will a Rotavator Kill All My Weeds?
It’s a bit of a mixed bag. For shallow-rooted annuals like chickweed, a rotavator does a brilliant job. It churns them up and buries them, effectively stopping them in their tracks.
But—and this is a big but—it can make a nightmare of deep-rooted perennial weeds like couch grass, docks, and thistles. The blades act like a blender, chopping up the extensive root systems into hundreds of small pieces. The problem is, each one of those little pieces can sprout into a brand-new plant. You can quickly go from a small patch of couch grass to a field-wide infestation.
If you’re facing a serious perennial weed problem, it’s far better to tackle it with other control methods before you even think about putting the rotavator in the ground.
At JF Hudson Ltd, we design and build robust, British-made agricultural attachments to help UK farmers work more efficiently and safely. From customisable front boxes to innovative weed control solutions, our kit is engineered to perform. Explore our range of durable farm equipment at https://jfhudson.co.uk.